Recently, as part of the A2B Tracking’s Webinar Series, Peter Collins and I (Dan Faria) discussed the Five Fundamental Elements that are required in order to create a compliant MIL‑STD‑130 label. For this post I want to talk about how to properly apply IUID labels to your assets so that they are marked correctly.
MIL-STD-130 requires that the IUID label be permanently affixed to the asset for the entire lifetime of that asset. This puts a premium on selecting the appropriate label type for your particular substrate, as well as, applying the label correctly in order to maintain your IUID compliance requirement. Additionally, here is a quick video regarding MIL-STD-130 label application.
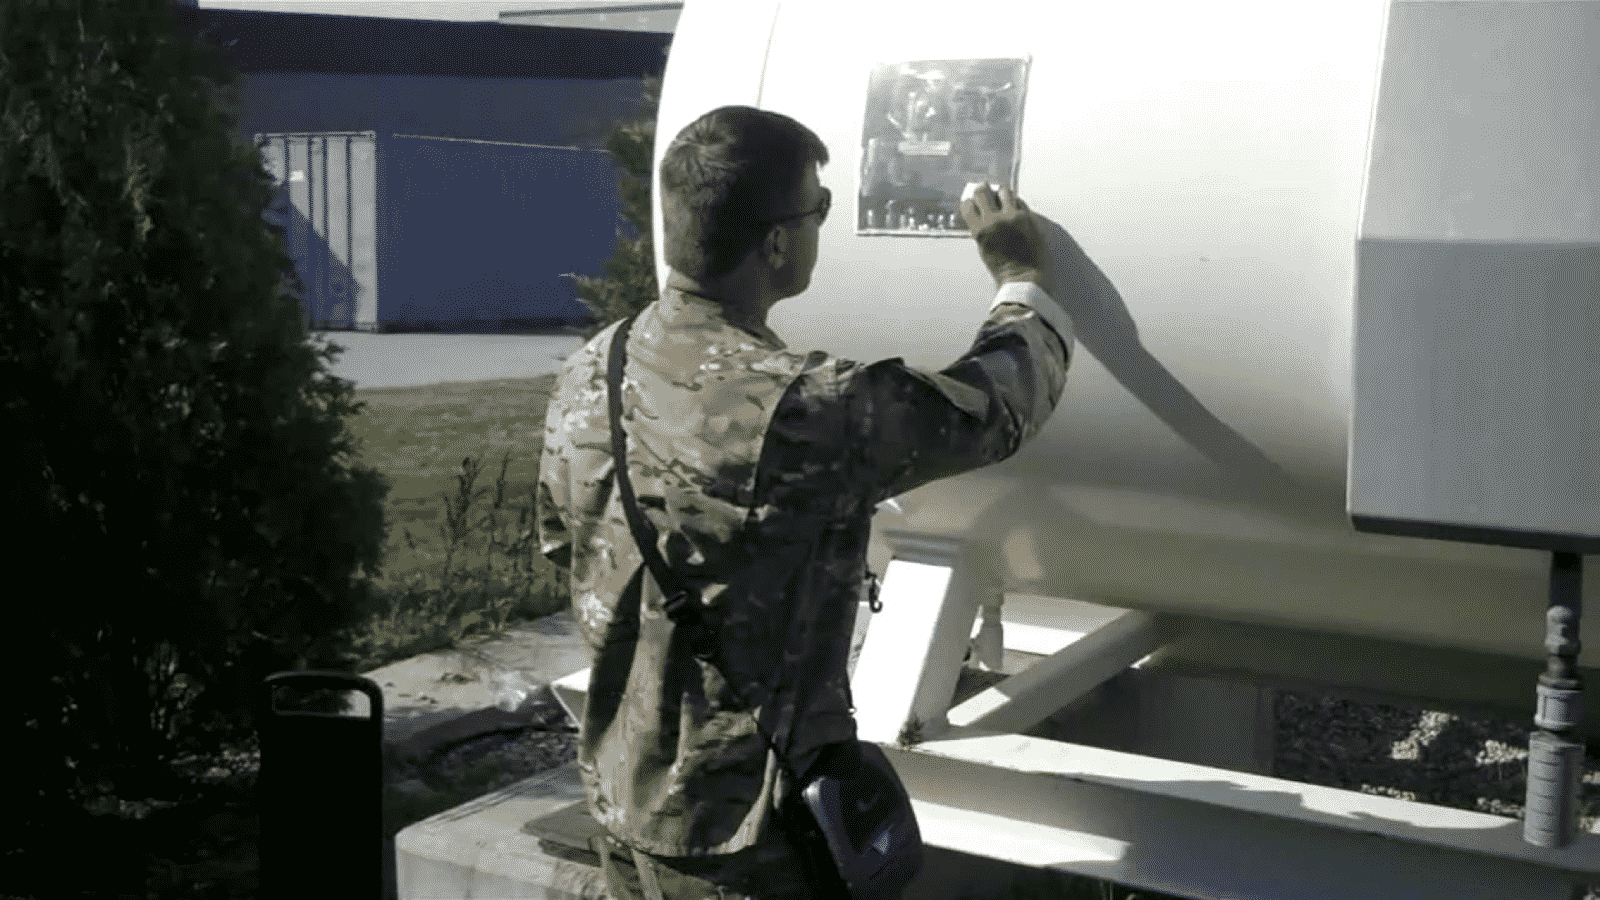
Identify Location and Surface Preparation
Before you apply your IUID label give some consideration to determine where the label should be placed on the asset. You should identify if there are any engineering specifications for the placement of the label. If there are no specifications then the label should be placed in a location where the barcode can easily be accessible to a scanner for readability. Also consider that the label will need to withstand normal environmental conditions, like cleaning, maintenance and rebuilding processes.
For this article, we are going to focus on attaching our IUID labels with adhesives. This is the most common type of IUID label — but there are other systems that use rivets, mechanical fasteners, embedded tags and even direct part marking. The appropriate attachment system is dependent upon the environmental conditions of that asset.
There are also some situations where your asset is too small to be able to use an IUID label (example: a small electrical component). In this situation, you can use a “bag & tag” marking method where you would apply the IUID label to the bag rather than the asset itself.
But, let’s assume that you are using an adhesive-backed label and that you have established where you are going to apply it on the asset. The next step is to make sure that the surface is clean. It should be free of any dust or grime so that the adhesive can fully cure to the asset. The use of an alcohol wipe is suggested; but, be sure that the surface is dry before applying the label. When removing the backing of the label try not to touch the adhesive, as the oils from your skin could negatively impact the application.
Establishing an Audit Trail
Whether you are a prime or sub-prime contractor, you are responsible to record the affix date of each IUID label to establish an audit trail. Furthermore, being able to produce a report that shows all of the affix dates for a particular contract will be very useful when a DCMA auditor comes to check your IUID compliance. Having this kind of detailed documentation will show that you have marked all of the qualifying items that were required to be marked. An established audit trail will also show the auditor that the barcode has been checked for MIL-STD-130 compliance throughout the marking process. This process will eliminate any ambiguity that all MIL-STD-130 requirements have been met. This is also referred to as the marking authority obligation.
Validation of Asset Pedigree Data
A good time to perform a final quality check is when the IUID label is being affixed to the asset. This is a great opportunity to make sure that the data that you have in your database matches the physical markings on the item. The part number and serial number on the item should be validated against your database to be sure it is accurate with the most current information. This is an important step. Make sure that the data is correct and that you have the correct label for each asset. Because, once this pedigree information is reported to the IUID Registry it is very difficult to change it.
If you would like to learn more about staying compliant to the MIL-STD-130 requirements watch the on-demand recording of our recent webinar here.